A guide written by Mobile RV Tech Services (Mobilervtechservices.com)
A multimeter is one of the most essential tools for any RV owner, whether you’re a weekend warrior or a full-time traveler. Electrical issues can arise at any time, and having the ability to troubleshoot them yourself can save you time, money, and frustration. In this guide, we’ll walk you through the basics of using a multimeter, covering what it is, how to use it safely, and practical applications for diagnosing common RV electrical problems.
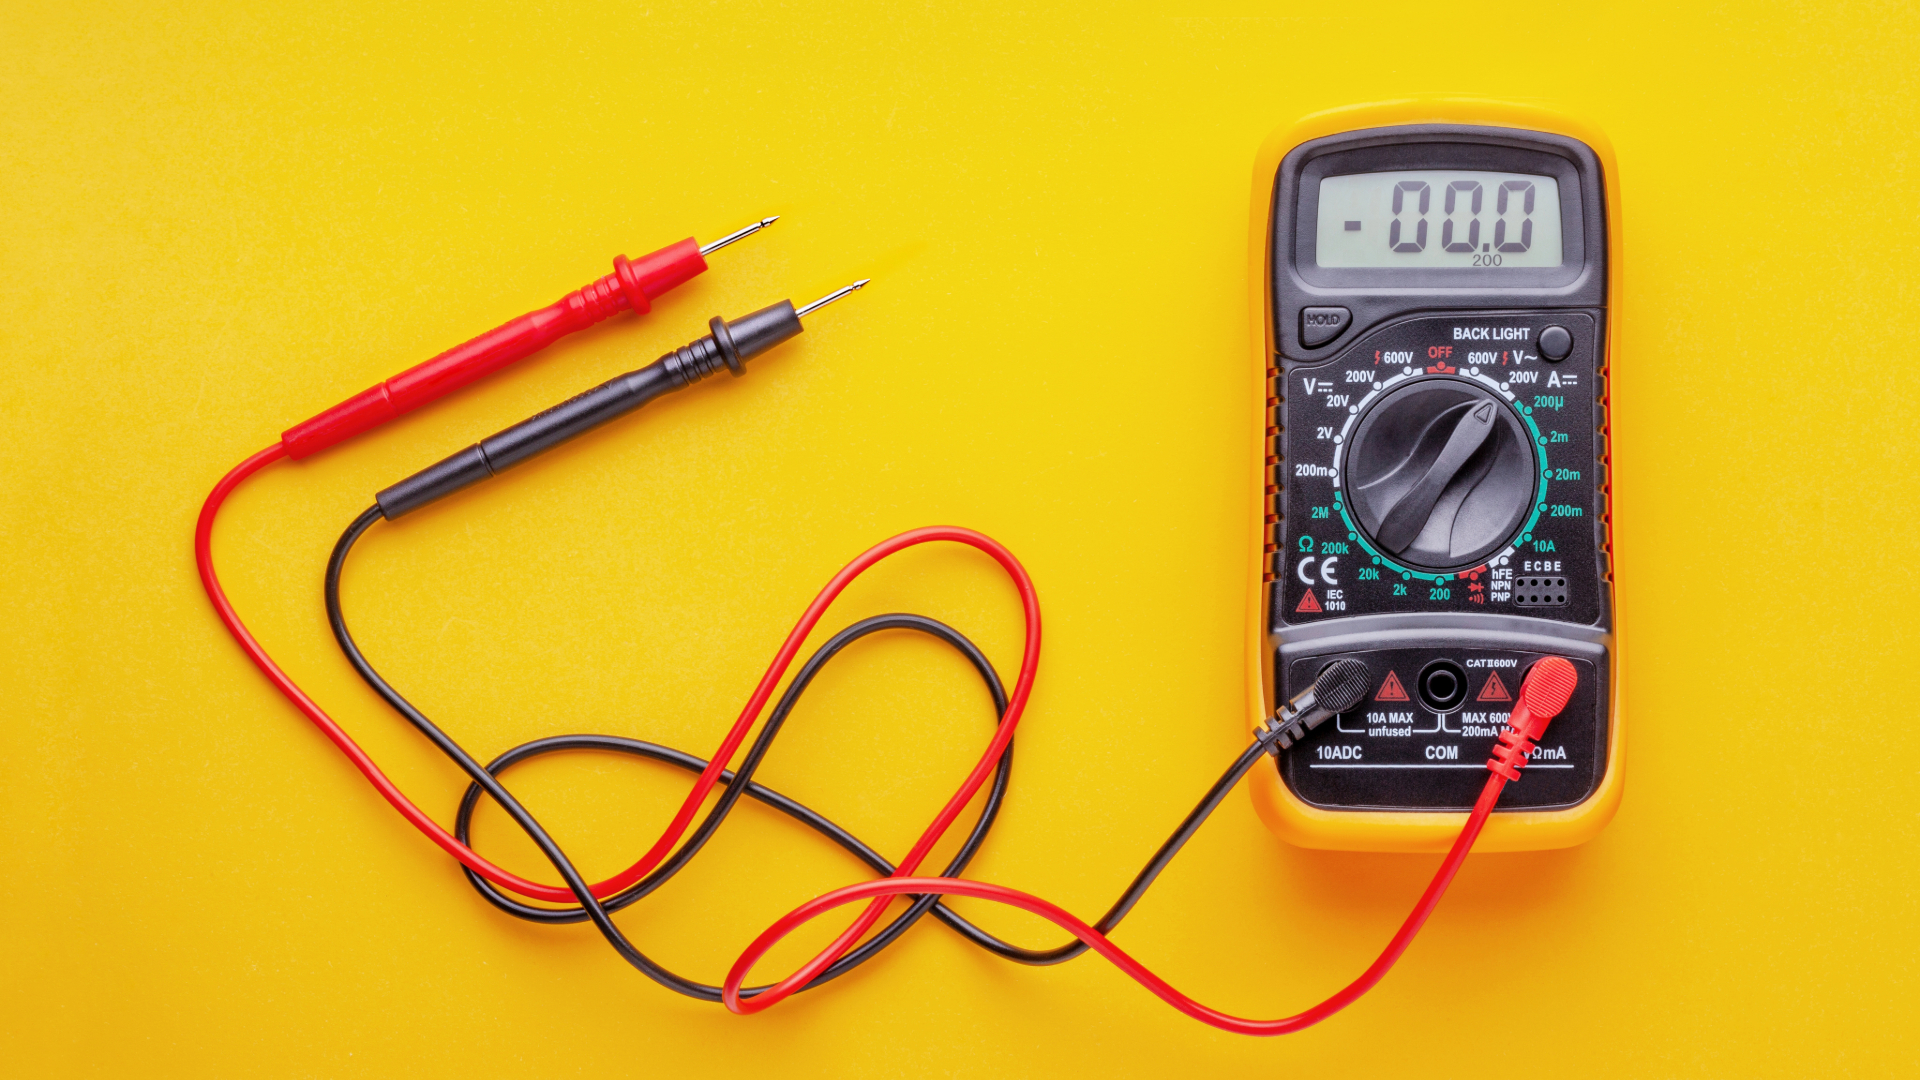
What is a Multimeter?
A multimeter is a handheld device used to measure electrical values such as voltage, current (amperage), and resistance. It’s an indispensable tool for checking power sources, troubleshooting electrical circuits, and ensuring your RV’s electrical system is functioning properly.
There are two main types of multimeters:
- Analog Multimeters – Uses a needle to display readings. While less common today, they’re still useful for certain applications.
- Digital Multimeters (DMM) – The most widely used type, providing accurate and easy-to-read digital displays.
Most RV owners will use a digital multimeter due to its reliability and precision.
Basic Components of a Multimeter
Before you start testing your RV’s electrical system, it’s important to understand the key components of a multimeter:
- Display Screen – Shows measurement readings.
- Dial (Selector Switch) – Allows you to select the type of measurement (volts, amps, ohms, etc.).
- Probes (Leads) – The red (positive) and black (negative) cables are used to make contact with the circuit.
- Ports (Jacks) – Where the probes are inserted into the meter. Typically, the black probe goes into the COM (common) port, and the red probe goes into the appropriate port based on the test being conducted.
Safety Precautions When Using a Multimeter
Working with electricity can be dangerous, so always follow these safety tips:
- Make sure your multimeter is rated for the voltage you are testing.
- Always test on a known power source first to ensure the multimeter is working correctly.
- Do not touch exposed wires with bare hands while testing.
- Set the dial to the correct measurement before connecting probes.
- When measuring current (amperage), never connect the probes directly across a power source—this can damage the multimeter.
How to Measure Voltage
One of the most common uses for a multimeter in an RV is checking voltage levels in batteries, shore power connections, and circuits.
Steps to Measure DC Voltage (Battery or 12V System):
- Set the multimeter dial to DC voltage (V⎓) and select a range that’s higher than the expected voltage (e.g., 20V for a 12V battery).
- Insert the black probe into the COM port and the red probe into the VΩ port.
- Touch the black probe to the negative (-) terminal and the red probe to the positive (+) terminal of the battery.
- Read the voltage displayed on the screen.
- A fully charged 12V lead-acid battery should read around 12.6–12.8V when not in use.
- If it reads 12.0V or lower, the battery is significantly discharged.
Steps to Measure AC Voltage (Shore Power or Generator):
- Set the dial to AC voltage (V~).
- Insert the black probe into COM and the red probe into VΩ.
- Carefully place the probes into an electrical outlet (one in the neutral slot and one in the hot slot).
- Read the voltage, which should be around 120V for standard shore power.
How to Measure Resistance
Resistance is measured in ohms (Ω) and is useful for checking fuses, wiring, and appliances to ensure there’s no break in the circuit.
Steps to Measure Resistance:
- Turn off the power to the circuit.
- Set the multimeter dial to Ω (Ohms).
- Insert the probes into the COM and VΩ ports.
- Touch both probes to the ends of the component being tested (e.g., both ends of a fuse).
- A zero or very low reading indicates continuity (no break), while OL (open loop) or a high reading indicates a break in the circuit.
How to Measure Amperage (Current)
Measuring amperage can help diagnose power draw issues but should be done carefully, as improper use can damage your multimeter or cause a short circuit.
Steps to Measure Current:
- Turn off the power to the circuit before connecting the multimeter.
- Set the dial to A (Amperage) and choose the correct range.
- Move the red probe to the A port (if measuring higher current) or mA port (for milliamps).
- Break the circuit and place the multimeter in series—meaning the power must flow through the meter.
- Turn the power back on and observe the reading.
Common RV Electrical Problems a Multimeter Can Help Diagnose
A multimeter can be used to troubleshoot a variety of common RV electrical issues, including:
- Dead Battery – Test voltage to see if the battery needs charging or replacement.
- Faulty Shore Power Connection – Measure AC voltage at the hookup point.
- Blown Fuses – Check continuity to see if a fuse needs replacing.
- Bad Grounding – Measure resistance between the ground and the power source.
- Parasitic Draw – Check for excessive current draw when the RV is off.
Final Thoughts
Learning how to use a multimeter is an invaluable skill for any RV owner. Whether you’re checking battery health, troubleshooting electrical problems, or ensuring your shore power connection is working correctly, a multimeter gives you the ability to diagnose and address issues before they become bigger problems. With a little practice, you’ll gain confidence in handling your RV’s electrical system, saving you from unnecessary trips to the repair shop.
For more RV maintenance tips and professional mobile RV services, feel free to reach out!
CALL or TEXT (989) 820-7373 EMAIL US Help@MobileRVTechServices.com